Anise the Autumn Spirit: Advanced Amigurumi Pattern for Seasonal Decor
My dearest artisan, welcome back to the worktable. I have drafted this guide to be as precise as it is inspiring, ensuring your Anise emerges with the true spirit of the fall. Let us begin.

About This Creation & Our Angle
We are not merely stitching a doll here; we are exploring the depth of "Mastering Seasonal Palettes." Anise is a study in texture and tone, blending the smooth structure of cotton with the organic, brushed chaos of her hair. This project is perfect for those wishing to elevate their portfolio with a piece that demands attention through its detailed headpiece and color gradients. It is a challenge, but a worthy one.
Project Snapshot:
📊 Difficulty: Intermediate to Advanced
⏰ Est. Time: 12-15 Hours
📏 Size: Approx. 14cm (Perfect for shelf display)
"True artistry lies not in the stitch, but in the soul you awaken within it." — Patricia
Materials & Tools Needed
🧶 Yarn: DK or Sport weight cotton in Mocha Brown (Skin), Pumpkin Orange, Golden Yellow, Rust Red, and Deep Violet (Hair).
🪡 Hook: 2.5mm (or size to match yarn tension)
✨ Other Materials: Safety eyes (10mm or 12mm), fiberfill, tapestry needle, pet slicker brush (for hair), and soft crafting wire (for poseable antlers).

Abbreviations & Stitches Used
We will be working in continuous rounds.
📍 ch: chain
📍 sl st: slip stitch
📍 sc: single crochet
📍 inc: increase (2 sc in one st)
📍 dec: decrease (invisible decrease preferred)
📍 blo: back loop only
📍 flo: front loop only
The Complete Anise Pattern
Patricia's Shop
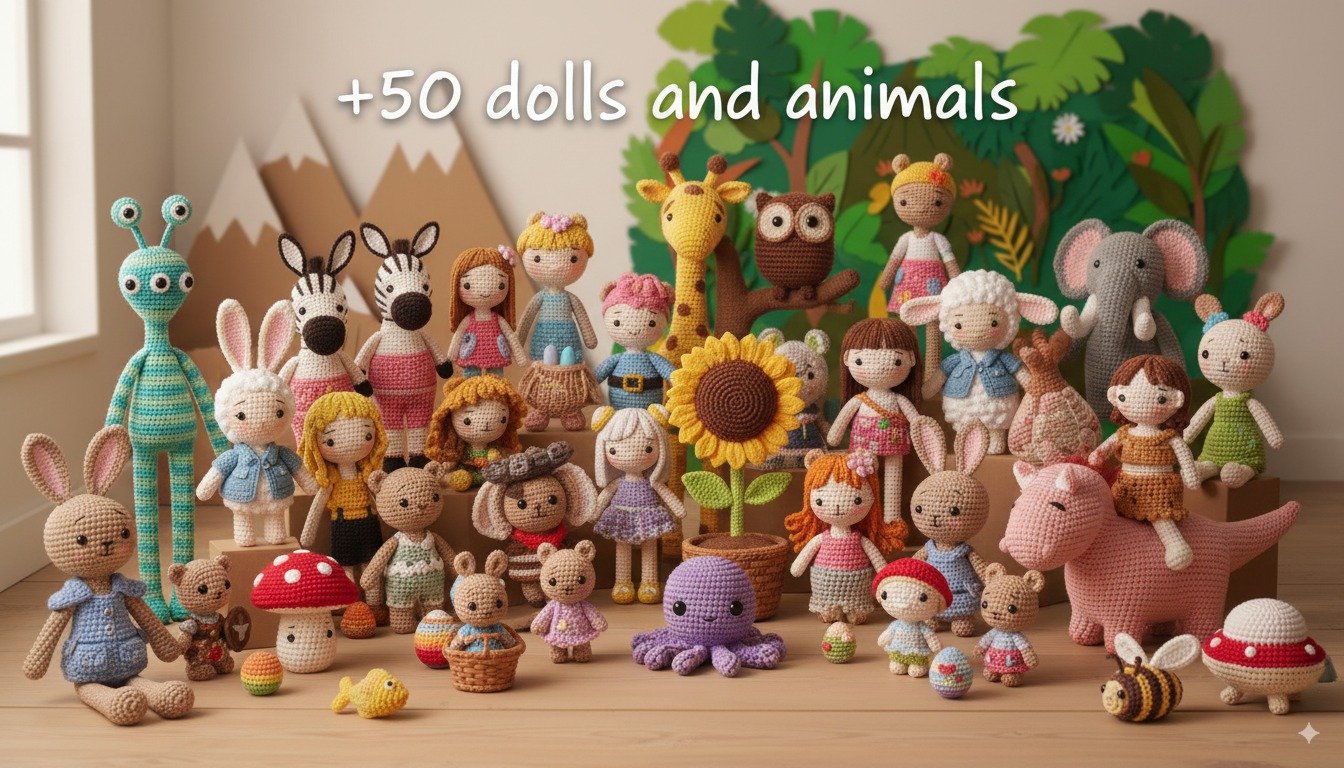
Amigurumi Mega Bundle: 50+ Dolls & Animals
Never run out of ideas! Get 27 detailed PDF patterns in one giant collection.
Amigurumi Mega Bundle: 50+ Dolls & Animals
Never run out of ideas! Get 27 detailed PDF patterns in one giant collection.
Part 1: The Head
(We aim for a soft, rounded rectangle shape to hold the weight of the antlers.)
Rnd 1: Ch 11, start in 2nd ch from hook. 9 sc, 3 sc in last ch, turn to work other side, 8 sc, inc. (22 sts)
Rnd 2: Inc, 8 sc, 3 inc, 8 sc, 2 inc. (28 sts)
Rnd 3: 1 sc, inc, 8 sc, (1 sc, inc) x3, 8 sc, (1 sc, inc) x2. (34 sts)
Rnd 4: 2 sc, inc, 8 sc, (2 sc, inc) x3, 8 sc, (2 sc, inc) x2. (40 sts)
Rnd 5: 3 sc, inc, 8 sc, (3 sc, inc) x3, 8 sc, (3 sc, inc) x2. (46 sts)
Rnd 6: 4 sc, inc, 8 sc, (4 sc, inc) x3, 8 sc, (4 sc, inc) x2. (52 sts)
Rnd 7-20: Sc in each st around. (52 sts) (Insert safety eyes between Rnd 14 and 15, approx. 9 sts apart.)
Rnd 21: 4 sc, dec, 8 sc, (4 sc, dec) x3, 8 sc, (4 sc, dec) x2. (46 sts)
Rnd 22: 3 sc, dec, 8 sc, (3 sc, dec) x3, 8 sc, (3 sc, dec) x2. (40 sts)
Rnd 23: 2 sc, dec, 8 sc, (2 sc, dec) x3, 8 sc, (2 sc, dec) x2. (34 sts)
Rnd 24: 1 sc, dec, 8 sc, (1 sc, dec) x3, 8 sc, (1 sc, dec) x2. (28 sts)
Artisan's Note: Stuff firmly here, especially the corners, to maintain that lovely rectangular definition.
Part 2: The Legs (Make 2)
(We begin with the feet and join them to form the body.)
Rnd 1: (In Rust Red) 6 sc in magic ring. (6 sts)
Rnd 2: Inc in each st around. (12 sts)
Rnd 3: (1 sc, inc) x6. (18 sts)
Rnd 4: Sc in each st around. (18 sts)
Rnd 5: 6 sc, 3 dec, 6 sc. (15 sts)
Rnd 6-8: (Change to Mocha Brown) Sc in each st around. (15 sts) (Fasten off the first leg. Do not fasten off the second leg.)
Part 3: The Body
(Joining the legs.)
Rnd 9: From second leg, ch 3, join to first leg with sl st. Sc around first leg (15), sc across ch (3), sc around second leg (15), sc across other side of ch (3). (36 sts)
Rnd 10: (5 sc, inc) x6. (42 sts)
Rnd 11-15: Sc in each st around. (42 sts) (Create the "pear" shape belly.)
Rnd 16: (5 sc, dec) x6. (36 sts)
Rnd 17-18: Sc in each st around. (36 sts)
Rnd 19: (4 sc, dec) x6. (30 sts)
Rnd 20-21: Sc in each st around. (30 sts)
Rnd 22: (3 sc, dec) x6. (24 sts)
Rnd 23-24: Sc in each st around. (24 sts) (Stuff the body firmly.)
Part 4: The Arms (Make 2)
Rnd 1: (In Rust Red) 6 sc in magic ring. (6 sts)
Rnd 2: (1 sc, inc) x3. (9 sts)
Rnd 3-4: Sc in each st around. (9 sts)
Rnd 5-12: (Change to Mocha Brown) Sc in each st around. (9 sts)
Rnd 13: Fold flat and sc across top to close. (4 sts)
Part 5: Facial Fins (Leaf Shapes)
(Make 2 Red, 2 Orange, 2 Yellow. Size varies by color.)
Small (Yellow): Ch 5, sc in 2nd ch, hdc, dc, 5 dc in last ch, (turn to other side), dc, hdc, sc.
Medium (Orange): Ch 7, sc in 2nd ch, hdc, dc, dc, tr, 6 tr in last ch, (turn), tr, dc, dc, hdc, sc.
Large (Red): Ch 9, sc in 2nd ch, hdc, dc, dc, tr, tr, 7 tr in last ch, (turn), tr, tr, dc, dc, hdc, sc.
Part 6: The Antlers (Make 2)
(Use Mocha Brown. Insert wire as you go for stability.)
Main Branch: Rnd 1: 5 sc in magic ring. (5 sts) Rnd 2-15: Sc in each st around. (5 sts)
Small Offshoots (Make 2 per antler): Rnd 1: 4 sc in magic ring. (4 sts) Rnd 2-4: Sc in each st around. (4 sts) (Sew offshoots onto the main branch at different heights.)
Part 7: Antler Leaves (Make 6-8)
(Use Red and Orange mixed.)
Row 1: Ch 4, sl st in 2nd ch, sc, sl st. (Tiny leaf shape). Leave long tail to sew onto antler tips.
Part 8: The Hair Cap
Rnd 1: (In Violet) 6 sc in magic ring. (6 sts)
Rnd 2: Inc in each st around. (12 sts)
Rnd 3: (1 sc, inc) x6. (18 sts)
...continue expanding until it fits the top of the head (approx 40 sts). (Cut strands of violet yarn approx. 10cm long. Latch hook them into the cap, then brush vigorously with a pet slicker brush to create the "fur" effect. Trim to shape.)
Part 9: The Gradient Sash
Row 1: (In Yellow) Ch 25 (long enough to wrap diagonally).
Row 2: Sc across. (24 sts)
Row 3: (Change to Orange) Sc across. (24 sts)
Row 4: (Change to Rust Red) Sc across with a picot stitch every 4 sts for texture.
Assembly & Final Touches
Pin the head to the body securely; the large head requires a firm neck connection.
Sew the facial fins in a layered fan (Yellow bottom, Orange middle, Red top) on the cheeks.
Insert the wired antlers into the top corners of the head and sew firmly.
Attach the hair cap between the antlers.
Wrap the sash diagonally across the body and stitch in place.
Tips & Frequently Asked Questions
Q: How do I keep the heavy head from wobbling? A: Insert a rolled tube of felt or a dowel inside the neck before sewing the head on. This provides an internal spine for support.
Q: Can I skip the wire in the antlers? A: I strongly advise against it. Without the wire armature, the branches will likely droop over time, losing that majestic silhouette.
A Final Word
Anise is now complete, a guardian of the seasons ready for her new home. I hope you found joy in these color transitions and the structural assembly. Until our next session.


Commentaires
Enregistrer un commentaire