Barnaby the Bashful Mouse Pattern
There is a particular quiet magic in creating a companion meant to be held by small hands. Barnaby is not merely a toy; he is a keeper of secrets and a provider of comfort. His design is intentional—weighted at the bottom to sit patiently on a shelf, and crafted with velvet yarn to soothe the senses.
Let us pick up our hooks and breathe life into this little soul.

About This Creation & Our Angle
Barnaby is designed with the "Sensory-Friendly" philosophy in mind. By using plush chenille or velvet yarn, we create a tactile experience that is calming for children. We have adjusted the proportions from standard amigurumi to the "Baby Schema" (large head, low eyes, chubby limbs) to trigger that immediate instinct to nurture.
Project Snapshot:
📊 Difficulty: Intermediate (Working with velvet yarn requires patience)
⏰ Est. Time: 5 to 7 Hours
📏 Size: Approx. 20cm (8 inches) sitting
"The true beauty of a handmade toy lies not in its perfection, but in the warmth of the hands that made it."
Materials & Tools Needed
🧶 Yarn: Super Bulky (Size 6) Chenille/Velvet yarn. ➡️ Color A: Cream or Snowy White (Head, Paws, Inner Ears) ➡️ Color B: Soft Rouge or Vintage Cherry (Shirt) ➡️ Color C: Biscuit or Tan (Overalls) ➡️ Color D: Soft Peach (Inner Ears, Tail, Nose)
🪡 Hook: 4.5mm (We want tight tension so stuffing doesn't show)
✨ Other Materials: ➡️ 14mm Safety Eyes (Black) ➡️ Polyester Fiberfill (High loft) ➡️ Two small wooden buttons (approx 15mm) ➡️ Black embroidery thread (for eyebrows) ➡️ Stitch markers and a yarn needle with a large eye

Abbreviations & Stitches Used
We will be working in continuous rounds unless stated otherwise.
📍 ch: chain
📍 sl st: slip stitch
📍 sc: single crochet
📍 inc: increase (2 sc in one stitch)
📍 dec: decrease (invisible decrease preferred)
📍 BLO: Back Loop Only
📍 FLO: Front Loop Only
The Complete Barnaby the Bashful Pattern
Patricia's Shop
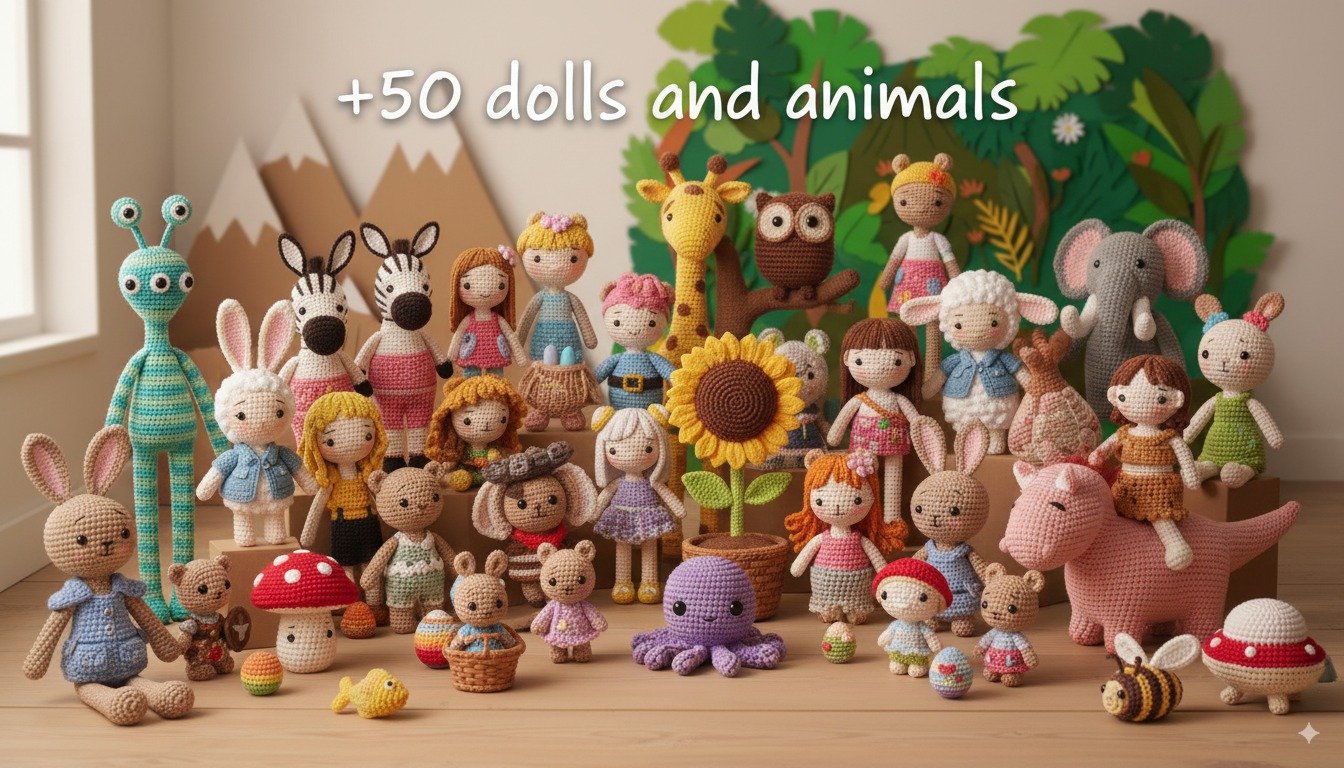
Amigurumi Mega Bundle: 50+ Dolls & Animals
Never run out of ideas! Get 27 detailed PDF patterns in one giant collection.
Amigurumi Mega Bundle: 50+ Dolls & Animals
Never run out of ideas! Get 27 detailed PDF patterns in one giant collection.
Component 1: The Head
(We work from the nose back to the head. Note the specific increases for his chubby cheeks.)
Rnd 1: Start with Color A (Cream). Make 6 sc in a magic ring (or ch 2 and make 6 sc in 2nd ch from hook if velvet yarn snaps). (6 sts)
Rnd 2: inc in each st around. (12 sts)
Rnd 3: (sc 1, inc) repeat 6 times. (18 sts)
Rnd 4: (sc 2, inc) repeat 6 times. (24 sts)
Rnd 5: (sc 3, inc) repeat 6 times. (30 sts)
Rnd 6: (sc 4, inc) repeat 6 times. (36 sts)
Rnd 7-11: sc in each st around. (36 sts)
Rnd 12 (Cheek Shaping): sc 12, (inc, sc 1) repeat 6 times, sc 12. (42 sts)
Rnd 13-17: sc in each st around. (42 sts)
Artisan's Note: Insert safety eyes now. Place them between Rounds 11 and 12, spaced about 7 stitches apart. They should sit just above the cheek increases for that "toddler" look.
Rnd 18: (sc 5, dec) repeat 6 times. (36 sts)
Rnd 19: (sc 4, dec) repeat 6 times. (30 sts)
Rnd 20: (sc 3, dec) repeat 6 times. (24 sts)
Rnd 21: (sc 2, dec) repeat 6 times. (18 sts)
Rnd 22: (sc 1, dec) repeat 6 times. (12 sts)
Rnd 23: dec around. Fasten off and weave in end.
Component 2: The Ears (Make 2)
(These are large and cupped to catch whispers.)
Rnd 1: With Color D (Peach), 6 sc in MR. (6 sts)
Rnd 2: inc in each st around. (12 sts)
Rnd 3: (sc 1, inc) repeat 6 times. (18 sts)
Rnd 4: (sc 2, inc) repeat 6 times. (24 sts)
Rnd 5: Change to Color A (Cream). (sc 3, inc) repeat 6 times. (30 sts)
Rnd 6: sc in each st around. (30 sts)
Rnd 7: (sc 3, dec) repeat 6 times. (24 sts)
Finish: Fold the ear slightly at the base and sew a few stitches to create a curve before attaching to head.
Component 3: The Body
(Worked from bottom up, changing color for the shirt.)
Rnd 1: With Color A (Cream), 6 sc in MR. (6 sts)
Rnd 2: inc in each st around. (12 sts)
Rnd 3: (sc 1, inc) repeat 6 times. (18 sts)
Rnd 4: (sc 2, inc) repeat 6 times. (24 sts)
Rnd 5: (sc 3, inc) repeat 6 times. (30 sts)
Rnd 6: (sc 4, inc) repeat 6 times. (36 sts)
Rnd 7-11: sc in each st around. (36 sts)
Rnd 12: (sc 4, dec) repeat 6 times. (30 sts)
Rnd 13: Change to Color B (Rouge/Shirt). sc in each st around. (30 sts)
Rnd 14: sc in each st around. (30 sts)
Rnd 15: (sc 3, dec) repeat 6 times. (24 sts)
Rnd 16-17: sc in each st around. (24 sts)
Rnd 18: (sc 2, dec) repeat 6 times. (18 sts)
Finish: Fasten off, leaving a long tail for sewing to the head. Stuff firmly, keeping the bottom flat so he can sit.
Component 4: The Legs (Make 2)
(Short and stumpy.)
Rnd 1: With Color A (Cream), 6 sc in MR. (6 sts)
Rnd 2: inc in each st around. (12 sts)
Rnd 3: (sc 1, inc) repeat 6 times. (18 sts)
Rnd 4-6: sc in each st around. (18 sts)
Rnd 7: (sc 1, dec) repeat 6 times. (12 sts)
Rnd 8-10: sc in each st around. (12 sts)
Finish: Lightly stuff the foot, leave top empty. Fold opening flat and sc across to close.
Component 5: The Arms (Make 2)
Rnd 1: With Color A (Cream), 6 sc in MR. (6 sts)
Rnd 2: (sc 1, inc) repeat 3 times. (9 sts)
Rnd 3: sc in each st around. (9 sts)
Rnd 4: Change to Color B (Rouge/Shirt). sc in each st around. (9 sts)
Rnd 5-9: sc in each st around. (9 sts)
Finish: Lightly stuff hand only. Fold top flat and sc across to close.
Component 6: The Overalls
(The removable piece that adds character.)
Rnd 1: With Color C (Tan), ch 36 and join to first ch with sl st (ensure it fits around the widest part of the body).
Rnd 2-5: ch 1, sc in each st around, join. (36 sts)
Rnd 6 (Split for legs): ch 1, sc 18, skip remaining sts, join to first sc of this round to form first pant leg.
Rnd 7: sc in each st of the leg. (18 sts)
Rnd 8: sc in each st. Fasten off.
Second Leg: Join yarn to remaining 18 stitches of Rnd 6. Repeat Rnd 7 & 8.
The Bib: Join yarn to front center of the waist (Rnd 1). Row 1: sc 10. Turn. Row 2-4: ch 1, sc 10. Turn.
Straps: Ch 16 (measure against your mouse), sc back down the chain. Sew to back of pants and top of bib.
Component 7: Tail & Details
Tail: With Color D (Peach), make a chain of 25. sc in 2nd ch from hook and each ch across. Sew to back of body.
Nose: Embroider a small triangle nose with pink yarn or thread over Rnd 1 of the head.

Assembly & Final Touches
Head to Body: Pin the head securely. The body neck opening (18 sts) should align with the bottom of the head. Sew firmly.
Limbs: Sew legs to the bottom sides of the body (Rnds 5-8 area) so they splay forward when he sits. Sew arms to Rnd 17 of the body.
Face: Embroider thin, sloping eyebrows using black thread to create that "worried/shy" expression.
Dress: Pull the overalls up over the legs and button the straps (sew buttons to the bib corners).
Tips & Frequently Asked Questions
Q: My velvet yarn keeps snapping when I pull the Magic Ring. Help! A: Velvet creates high friction. Instead of a Magic Ring, chain 2 and work your starting stitches into the second chain from the hook.
Q: Can I brush the yarn? A: No, velvet/chenille yarn is delicate and can shed if brushed. It is naturally soft enough!
Q: How do I wash Barnaby? A: Because of the safety eyes and delicate yarn, spot cleaning is best. If necessary, place him in a pillowcase and wash on a gentle, cold cycle, then air dry.
A Final Word
There you have it—a small friend ready to listen and offer comfort. Barnaby is a project that rewards patience with tactile joy. I hope he finds a special place in your home or makes a perfect gift for a little one.


Commentaires
Enregistrer un commentaire