Midnight Velvet Calf Pattern: Crafting Luxury Sensory Plushies
My dearest maker, I am thrilled you have chosen to walk this path with me. Barnaby is a project that speaks to the heart, combining the luxury of velvet with the innocence of childhood. Let us pick up our hooks and shape this dream into reality.

About This Creation & Our Angle
Working with velvet or chenille yarn is a transformative experience for any artisan. It elevates a simple shape into a tactile treasure, something that demands to be touched and held. With Barnaby, we are not just making a toy; we are crafting a sensory companion. The contrast of the midnight black against the stark white patch creates a visual anchor, while the plush texture offers immediate comfort. This project is designed to teach you how to manage the unique challenges of "slippery" luxury yarns while producing a finished piece that looks professionally crafted and boutique-ready.
Project Snapshot:
📊 Difficulty: Intermediate (Due to textured yarn visibility)
⏰ Est. Time: 4 - 6 Hours
📏 Size: Approx. 9 inches (23 cm) tall
"The true value of a handcrafted gift lies not in its complexity, but in the comfort it provides the soul."
Materials & Tools Needed
🧶 Yarn: Super Bulky (Weight 6) Chenille/Velvet yarn in Midnight Black, Snow White, and Cocoa Brown.
🪡 Hook: 5.0mm or 5.5mm (adjust tension to ensure no holes for stuffing)
✨ Other Materials: 18mm Safety Eyes, Polyfill stuffing, Yarn needle (large eye), Stitch markers.

Abbreviations & Stitches Used
We will be working in continuous rounds.
📍 ch: chain
📍 sl st: slip stitch
📍 sc: single crochet
📍 inc: increase (2 sc in one st)
📍 dec: decrease (invisible decrease preferred)
📍 BLO: back loop only
The Complete Barnaby Pattern
Patricia's Shop
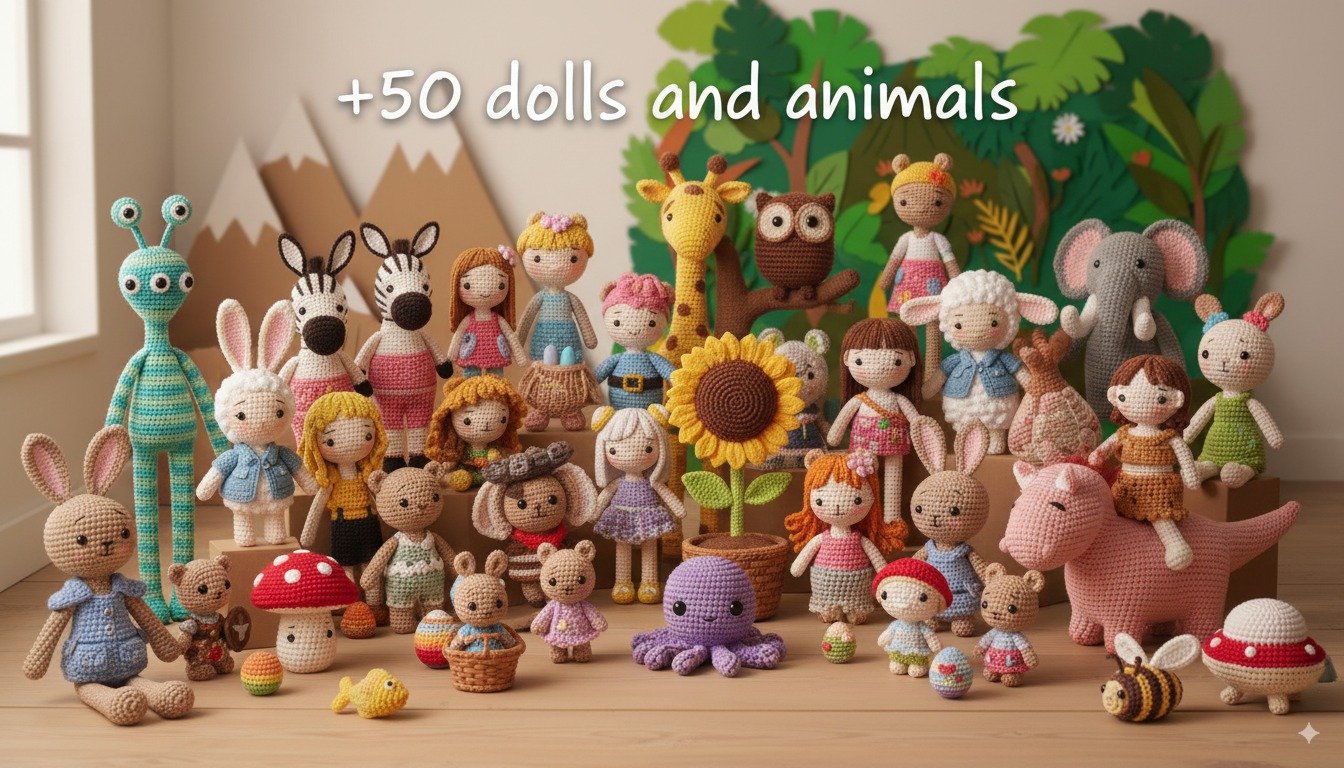
Amigurumi Mega Bundle: 50+ Dolls & Animals
Never run out of ideas! Get 27 detailed PDF patterns in one giant collection.
Amigurumi Mega Bundle: 50+ Dolls & Animals
Never run out of ideas! Get 27 detailed PDF patterns in one giant collection.
Part 1: The Head (Black)
Rnd 1: Start 6 sc in a magic ring (6 sts)
Rnd 2: Inc in every st around (12 sts)
Rnd 3: (Sc 1, inc) repeat 6 times (18 sts)
Rnd 4: (Sc 2, inc) repeat 6 times (24 sts)
Rnd 5: (Sc 3, inc) repeat 6 times (30 sts)
Rnd 6: (Sc 4, inc) repeat 6 times (36 sts)
Rnd 7: (Sc 5, inc) repeat 6 times (42 sts)
Rnd 8 - 15: Sc in each st around (42 sts)
Rnd 16: (Sc 5, dec) repeat 6 times (36 sts)
Rnd 17: (Sc 4, dec) repeat 6 times (30 sts)
Artisan's Note: Pause here. We will insert the safety eyes later, after attaching the eye patch. This ensures perfect placement.
Rnd 18: (Sc 3, dec) repeat 6 times (24 sts)
Rnd 19: (Sc 2, dec) repeat 6 times (18 sts)
Rnd 20: (Sc 1, dec) repeat 6 times (12 sts)
Rnd 21: Dec around until closed. Fasten off and weave in end.
Part 2: The Body (Black)
Rnd 1: Start 6 sc in a magic ring (6 sts)
Rnd 2: Inc in every st around (12 sts)
Rnd 3: (Sc 1, inc) repeat 6 times (18 sts)
Rnd 4: (Sc 2, inc) repeat 6 times (24 sts)
Rnd 5: (Sc 3, inc) repeat 6 times (30 sts)
Rnd 6 - 10: Sc in each st around (30 sts)
Rnd 11: (Sc 3, dec) repeat 6 times (24 sts)
Rnd 12 - 13: Sc in each st around (24 sts)
Rnd 14: (Sc 2, dec) repeat 6 times (18 sts)
Rnd 15 - 16: Sc in each st around (18 sts)
Rnd 17: Sc in each st around. Fasten off, leaving a long tail for sewing. Stuff firmly, keeping the base broad for sitting stability.
Part 3: The Snout (Brown)
Rnd 1: Chain 6. Starting in the second ch from hook, sc 4, 3 sc in the last ch. Turn to work on the other side of the chain. Sc 3, inc in the last st (12 sts)
Rnd 2: Inc, sc 3, inc 3 times, sc 3, inc 2 times (18 sts)
Rnd 3: Sc in each st around (18 sts)
Rnd 4: Sc in each st around (18 sts)
Rnd 5: Sc in each st around. Fasten off, leaving a tail for sewing.
Part 4: The Eye Patch (White)
Rnd 1: Start 6 sc in a magic ring (6 sts)
Rnd 2: Inc in every st around (12 sts)
Rnd 3: (Sc 1, inc) repeat 6 times (18 sts)
Rnd 4: (Sc 2, inc) repeat 3 times. Slip stitch in next st. Leave the rest unworked for an asymmetrical shape. Fasten off, leaving a long tail.
Part 5: Right Ear (Black)
Rnd 1: Start 4 sc in a magic ring (4 sts)
Rnd 2: (Sc 1, inc) repeat 2 times (6 sts)
Rnd 3: (Sc 2, inc) repeat 2 times (8 sts)
Rnd 4: (Sc 3, inc) repeat 2 times (10 sts)
Rnd 5: Sc in each st around (10 sts)
Rnd 6: (Sc 3, dec) repeat 2 times (8 sts)
Rnd 7: Fold flat and sc across opening. Fasten off.
Part 6: Left Ear (White)
Rnd 1: Start 4 sc in a magic ring (4 sts)
Rnd 2: (Sc 1, inc) repeat 2 times (6 sts)
Rnd 3: (Sc 2, inc) repeat 2 times (8 sts)
Rnd 4: (Sc 3, inc) repeat 2 times (10 sts)
Rnd 5: Sc in each st around (10 sts)
Rnd 6: (Sc 3, dec) repeat 2 times (8 sts)
Rnd 7: Fold flat and sc across opening. Fasten off.
Part 7: Horns (Make 2 - Brown)
Rnd 1: Start 4 sc in a magic ring (4 sts)
Rnd 2: (Sc 1, inc) repeat 2 times (6 sts)
Rnd 3: Sc in each st around (6 sts)
Rnd 4: Sc in each st around. Fasten off, leave tail. Stuff lightly.
Part 8: Arms (Make 2 - Start in Brown)
Rnd 1: Start 6 sc in a magic ring (6 sts)
Rnd 2: Inc in every st around (12 sts)
Rnd 3: Sc in BLO (12 sts) - creates the hoof edge.
Rnd 4: Change color to Black. Sc in each st around (12 sts)
Rnd 5 - 8: Sc in each st around (12 sts)
Rnd 9: (Sc 4, dec) repeat 2 times (10 sts)
Rnd 10 - 12: Sc in each st around (10 sts)
Rnd 13: Fold flat and sc across top. Fasten off. Stuff only the bottom half.
Part 9: Legs (Make 2 - Start in Brown)
Rnd 1: Start 6 sc in a magic ring (6 sts)
Rnd 2: Inc in every st around (12 sts)
Rnd 3: (Sc 1, inc) repeat 6 times (18 sts)
Rnd 4: Sc in BLO (18 sts)
Rnd 5: Change color to Black. Sc in each st around (18 sts)
Rnd 6: (Sc 7, dec) repeat 2 times (16 sts)
Rnd 7 - 9: Sc in each st around (16 sts)
Rnd 10: (Sc 6, dec) repeat 2 times (14 sts)
Rnd 11: Sc in each st around. Fasten off. Stuff firmly.
Part 10: Tail (Black & Brown)
Rnd 1: (In Black) Chain 9.
Rnd 2: Sc in 2nd ch from hook and each ch across (8 sts).
Rnd 3: Cut several strands of Brown yarn. Loop them through the end of the chain to create a tassel. Trim to size.

Assembly & Final Touches
First, pin the White Eye Patch onto the left side of the face, approximately between Rounds 10 and 14. Sew it down flat.
Insert the safety eyes. One goes directly into the black yarn on the right side. The other goes through the white patch and into the head on the left side. Secure the backings firmly.
Sew the Brown Snout centered between the eyes, slightly lower. Stuff it lightly as you sew to keep its shape.
Attach the ears on either side of the head, roughly at Round 5 or 6. Attach the horns just inside the ears, slightly higher up.
Sew the head to the body. Ensure the neck is sturdy by adding extra stitches if needed.
Attach the arms to the sides of the body at the neck seam. Attach the legs to the bottom front of the body so Barnaby sits comfortably. Sew the tail to the lower back.
Tips & Frequently Asked Questions
Q: Why is my velvet yarn "worming" (loops popping out)? A: This happens when your tension is too loose or your hook is too small for the yarn thickness. Try tightening your tension or sizing down your hook slightly if holes aren't an issue.
Q: Can I wash this plushie? A: Yes, but gently. Hand wash in cool water and air dry. Velvet yarn can be sensitive to high heat.
A Final Word
You have done wonderful work today. Barnaby is now ready to offer his silent companionship to the world. May he bring warmth to whoever holds him. Until we meet again at the crafting table.


Commentaires
Enregistrer un commentaire