The 'Ohana' Pajama Party Doll
This pattern is pure nostalgia for me—it gives off that specific 'pajama party' vibe I loved as a kid. I wanted to design a ragdoll that actually felt soft and floppy, not stiff, so don't overstuff the limbs! It’s the perfect project if you want to make a little hero that is actually cuddly enough to sleep with.

About This Creation & Our Angle
In the world of amigurumi, "character" is currency. While simple bears and bunnies are timeless, collectors and buyers are increasingly drawn to dolls that tell a story. This project is designed as a "high-value" boutique item.
By combining a human doll with a detailed character costume and a miniature accessory, we elevate the perceived value significantly. This isn't just a doll; it's a scene, a memory, and a piece of fan art all in one. The removable elements and intricate face embroidery are what will allow you to price this creation as a premium art piece.
Project Snapshot:
📊 Difficulty: Intermediate (Requires color changes and assembly)
⏰ Est. Time: 8-10 Hours
📏 Size: Approximately 14cm (5.5 inches)
"Ohana means family, and family means nobody gets left behind or forgotten. Let this stitch be a reminder of those we hold dear." — Patricia
Materials & Tools Needed
To weave this creation, you will need to gather a few simple treasures.
🧶 Yarn: 100% Cotton DK or Sport Weight. Royal Blue: For the main pajama suit and hat. Powder Blue: For the tummy patch and details. Soft Beige/Sand: For the skin tone. Chocolate Brown: For the hair. Mint Green: For the mini-doll (Scrump). Petal Pink: For the inner ears and bows.
🪡 Hook: 2.25mm or 2.5mm (to ensure tight stitches)
✨ Safety Eyes: 9mm or 10mm (placed low for cuteness)
✨ Embroidery Floss: Black (for lashes), Dark Blue (for nose), Pink (for mouth).
✨ Other Materials: Polyfill stuffing, tapestry needle, stitch markers, and 3 small buttons (6mm).

Abbreviations & Stitches Used
We will be working in continuous rounds unless stated otherwise.
📍 MR: Magic Ring
📍 ch: chain
📍 sc: single crochet
📍 inc: increase (2 sc in one stitch)
📍 dec: invisible decrease (sc 2 stitches together using front loops only)
📍 sl st: slip stitch
📍 BLO: back loop only
The Complete 'Ohana' Doll Pattern
Patricia's Shop
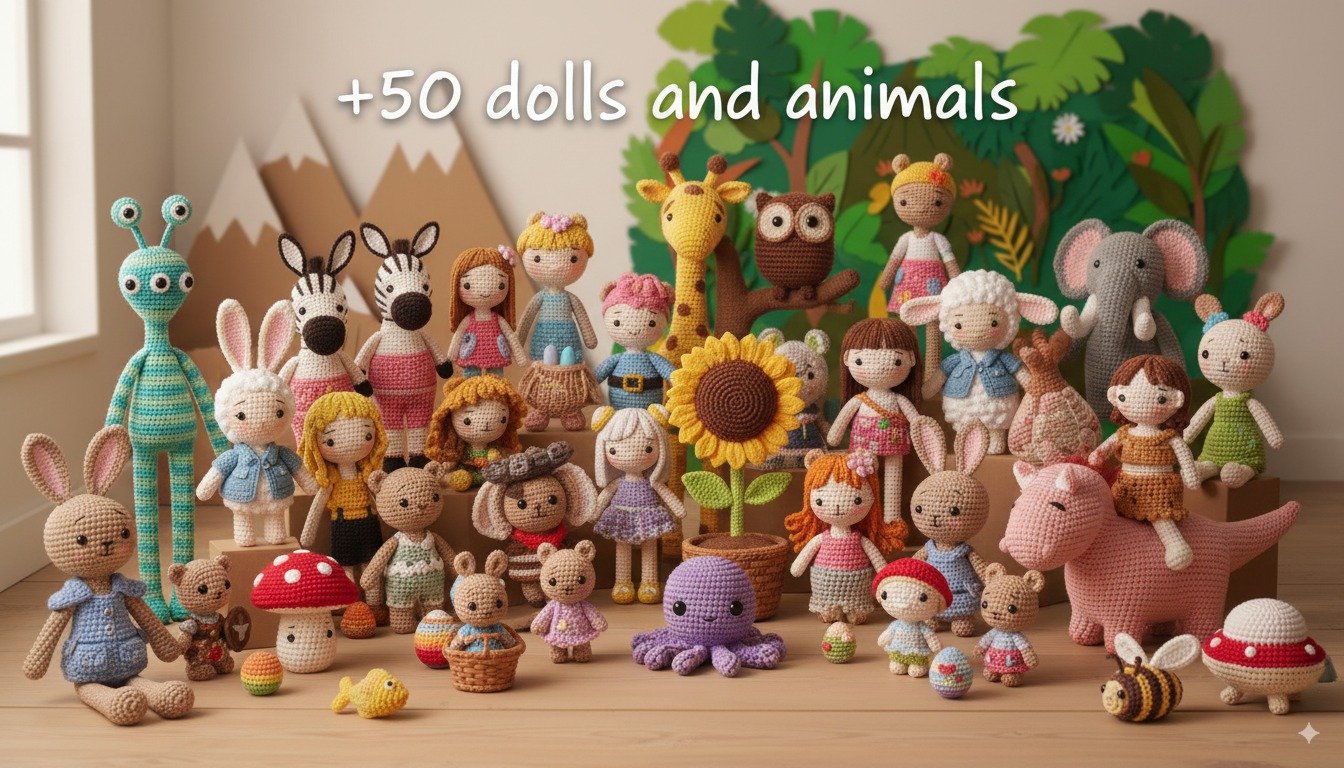
Amigurumi Mega Bundle: 50+ Dolls & Animals
Never run out of ideas! Get 27 detailed PDF patterns in one giant collection.
Amigurumi Mega Bundle: 50+ Dolls & Animals
Never run out of ideas! Get 27 detailed PDF patterns in one giant collection.
The Legs (Make 2)
Start with Royal Blue.
Rnd 1: 6 sc in MR (6 sts)
Rnd 2: inc in each st around (12 sts)
Rnd 3: (1 sc, inc) x 6 (18 sts)
Rnd 4: BLO sc in each st around (18 sts)
Rnd 5: sc in each st around (18 sts)
Rnd 6: (4 sc, dec) x 3 (15 sts)
Rnd 7: sc in each st around (15 sts)
Fasten off the first leg. Do not fasten off the second leg.
The Body
Continue with Royal Blue.
Rnd 8: Chain 3 from the second leg, join to the first leg with a sc. Sc in remaining 14 sts of first leg, sc in 3 ch, sc in 15 sts of second leg, sc in other side of 3 ch. (36 sts)
Rnd 9: sc in each st around (36 sts)
Rnd 10: (5 sc, inc) x 6 (42 sts) — This gives us that chubby toddler tummy.
Rnd 11-16: sc in each st around (42 sts) — Work 6 rounds straight.
Rnd 17: (5 sc, dec) x 6 (36 sts)
Rnd 18: sc in each st around (36 sts)
Rnd 19: (4 sc, dec) x 6 (30 sts)
Rnd 20: sc in each st around (30 sts)
Rnd 21: (3 sc, dec) x 6 (24 sts)
Rnd 22: sc in each st around (24 sts)
Rnd 23: (2 sc, dec) x 6 (18 sts) — Begin stuffing firmly.
Rnd 24: (1 sc, dec) x 6 (12 sts)
Rnd 25: Change to Beige (Skin Color). BLO sc in each st around (12 sts) — This creates the neck rim.
The Head
Continue with Beige.
Rnd 26: inc in each st around (24 sts)
Rnd 27: (3 sc, inc) x 6 (30 sts)
Rnd 28: (4 sc, inc) x 6 (36 sts)
Rnd 29: (5 sc, inc) x 6 (42 sts)
Rnd 30: (6 sc, inc) x 6 (48 sts)
Rnd 31-40: sc in each st around (48 sts) — Work 10 rounds straight. Insert safety eyes between Rnd 34 and 35, approx 9 stitches apart.
Rnd 41: (6 sc, dec) x 6 (42 sts)
Rnd 42: (5 sc, dec) x 6 (36 sts)
Rnd 43: (4 sc, dec) x 6 (30 sts)
Rnd 44: (3 sc, dec) x 6 (24 sts) — Stuff the head firmly.
Rnd 45: (2 sc, dec) x 6 (18 sts)
Rnd 46: (1 sc, dec) x 6 (12 sts)
Rnd 47: dec x 6 (6 sts). Fasten off and weave in end.
Artisan's Note: When stuffing the neck, insert a rolled-up piece of felt or an extra firm stuffing "log" into the center. This prevents the heavy head from wobbling—a crucial detail for professional-quality dolls.
The Arms (Make 2)
Start with Beige.
Rnd 1: 6 sc in MR (6 sts)
Rnd 2: (2 sc, inc) x 2 (8 sts)
Rnd 3: sc in each st around (8 sts)
Rnd 4: Change to Royal Blue. sc in each st around (8 sts)
Rnd 5-11: sc in each st around (8 sts)
Rnd 12: Fold opening flat and sc 4 through both sides to close. Leave a long tail for sewing.
The Tummy Patch
Use Powder Blue. We will work in rows.
Row 1: Ch 6, start in 2nd ch from hook. 5 sc, ch 1, turn.
Row 2: inc, 3 sc, inc (7 sts), ch 1, turn.
Row 3: inc, 5 sc, inc (9 sts), ch 1, turn.
Row 4-8: sc in each st across (9 sts).
Row 9: dec, 5 sc, dec (7 sts).
Fasten off. Leave a long tail. Sew this patch onto the center of the blue body. Sew 3 small buttons onto this patch.
The Character Hat (The "Stitch" Hood)
Use Royal Blue. This is designed to fit over the hair.
Rnd 1: 6 sc in MR (6 sts)
Rnd 2: inc in each st around (12 sts)
Rnd 3: (1 sc, inc) x 6 (18 sts)
Rnd 4: (2 sc, inc) x 6 (24 sts)
Rnd 5: (3 sc, inc) x 6 (30 sts)
Rnd 6: (4 sc, inc) x 6 (36 sts)
Rnd 7: (5 sc, inc) x 6 (42 sts)
Rnd 8: (6 sc, inc) x 6 (48 sts)
Rnd 9: (7 sc, inc) x 6 (54 sts)
Rnd 10-18: sc in each st around (54 sts) — Test fit on the doll's head.
Rnd 19: sl st loosely around. Fasten off.
The Ears (Make 2)
Make 2 pieces in Petal Pink and 2 pieces in Royal Blue.
Row 1: Ch 2, 2 sc in 2nd ch (2 sts). Ch 1, turn.
Row 2: inc x 2 (4 sts). Ch 1, turn.
Row 3: inc, 2 sc, inc (6 sts). Ch 1, turn.
Row 4: inc, 4 sc, inc (8 sts). Ch 1, turn.
Row 5-8: sc across (8 sts).
Row 9: dec, 4 sc, dec (6 sts).
Assembly: Place a Pink piece on top of a Blue piece. Sc around the edges with Blue to join them. Leave a tail to sew to the Hat.
The Mini Doll "Scrump"
Use Mint Green.
Head: MR 6, inc to 12, sc 2 rounds, dec to 6. Stuff lightly.
Body: Color change to Green (or scrap color). sc 6, inc to 9, sc 3 rounds, dec to 6. Close.
Details: Use Yellow yarn for hair sprigs and Pink felt for the bow. Embroider X eyes with black thread.

Assembly & Final Touches
1. The Hair: Cut strands of Chocolate Brown yarn approximately 25cm long. Using the latch hook method, attach strands to the head starting from the top center and working down to the ear line. It does not need to be full coverage at the very top if the hat will be permanently worn, but for high value, fill the whole head so the hat can be removable.
2. The Face: Embroider a small nose using Skin Tone yarn one row below the eyes. Embroider eyebrows using Brown thread for a gentle expression.
3. The Hat Details: Sew the ears onto the sides of the beanie (Rnds 12-14). Use Light Blue felt or crochet an oval for the eyes on the hat, and Dark Blue for the nose. This is the "face" of the costume.
4. Final Assembly: Sew the arms to the body at Rnd 24. Sew the Tummy Patch to the front of the body. Attach the small buttons. Tack the Mini Doll to the hand (optional) or leave it loose.
Tips & Frequently Asked Questions
Q: Can I use chenille yarn for this? A: Absolutely! If you use "velvet" or chenille yarn, the doll will become much larger (approx 25-30cm) and very huggable. Use a 4.0mm or 5.0mm hook.
Q: How do I make the head less wobbly? A: The neck support is key. Ensure you stuff the neck very firmly before closing the head. You can also insert a craft wire or a Q-tip inside the neck for stability.
A Final Word
You have now created not just a doll, but a little guardian of dreams. Whether she sits on a collector's shelf or travels in a child's backpack, she carries the spirit of 'Ohana'.


Commentaires
Enregistrer un commentaire